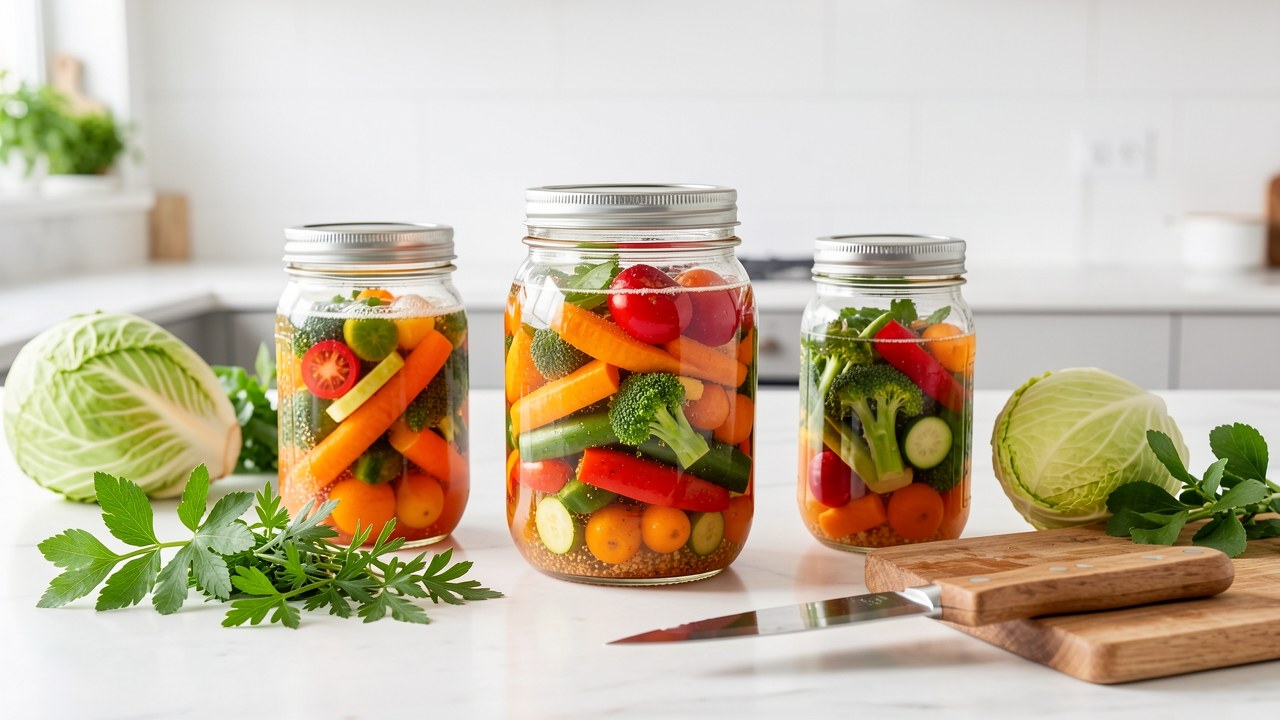
Why Home Fermentation Can Yield Live Probiotics
Fermentation is a traditional preservation method that can also introduce beneficial microbes to your diet. When vegetables are submerged in a salt brine, naturally present lactic acid bacteria multiply and convert sugars into acids. This creates an acidic environment that preserves the food and gives it a tangy flavor. In dairy, starter cultures ferment lactose into lactic acid, producing products like yogurt.
Not every fermented food contains live probiotics at the time of eating. Pasteurization or high-heat processing after fermentation kills these beneficial bacteria. When you ferment at home and avoid such steps, your finished product can retain live cultures. For example, sauerkraut made through natural fermentation and kept refrigerated typically contains these live microbes.
The potential benefit depends on the specific strains and their viability. While many fermented foods are good sources of live microbes, not all probiotic effects are guaranteed. Still, by making your own ferments, you have control over the process and can achieve a product that is both safe and likely to deliver live cultures.
Basic Equipment and Sanitation
The most important principle in home fermentation is cleanliness. While you don’t need a sterile lab, you do need a clean environment to give desirable microbes a head start and keep unwanted organisms at bay.
Essential equipment includes glass jars, fermentation weights, and breathable lids or airlocks. For vegetables, you'll need a way to keep them submerged in brine. For yogurt, you'll need a thermometer to monitor temperature.
- Wash all containers, utensils, and your hands thoroughly with hot, soapy water before starting.
- Use non-reactive containers like glass, ceramic, or food-grade plastic; avoid metal that can corrode or react with acids.
- Keep vegetables completely submerged in brine to exclude oxygen, which can harbor unwanted bacteria and yeast.
- Use a starter culture when possible to initiate fermentation efficiently and maintain control over the process.
- Maintain a consistent temperature: around 65–72°F (18–22°C) for vegetable ferments, and about 100°F (37°C) for yogurt.
Sources: International Scientific Association for Probiotics and Prebiotics (ISAPP), Utah State University Extension
Step-by-Step Vegetable Ferment (Sauerkraut Example)
Sauerkraut is an excellent first ferment because it requires minimal ingredients and equipment. The key is achieving the correct salt concentration and maintaining anaerobic conditions.
A common recommended salt ratio is 2% of the total weight of the chopped cabbage. This salt level helps inhibit harmful pathogens while allowing beneficial lactic acid bacteria to thrive.
- Weigh your chopped cabbage and add 2% salt by weight. For example, for 1 kilogram (2.2 pounds) of cabbage, use 20 grams (about 1 tablespoon) of salt.
- Massage the salt into the cabbage for several minutes until it releases enough liquid to form a brine.
- Pack the cabbage tightly into a clean glass jar, pressing down to remove air pockets.
- Ensure the cabbage is completely submerged in its own brine. Use a fermentation weight or a small glass insert to keep it below the liquid level.
- Cover the jar with a lid that allows gas to escape, such as an airlock or a cloth secured with a rubber band.
- Leave the jar at room temperature, ideally between 65–72°F (18–22°C), for a minimum of three to four weeks.
- Check periodically to ensure the cabbage remains submerged. If you see mold, discard the entire batch.
- After fermentation, move the jar to the refrigerator to slow the process and store it.
Sources: International Scientific Association for Probiotics and Prebiotics (ISAPP), ZOE
Making Yogurt with Live Cultures
Yogurt is another accessible homemade ferment. The process involves heating milk, adding live starter cultures, and maintaining a warm temperature to encourage fermentation.
Using a starter culture—whether from a commercial packet or a spoonful of yogurt with live cultures—is better than relying on natural fermentation. It ensures the right bacteria dominate and gives you control over the process.
- Heat milk to 180°F (82°C) to kill unwanted microbes and denature proteins for a thicker texture.
- Cool the milk to around 110–115°F (43–46°C).
- Add your starter culture (either a commercial yogurt starter or a few tablespoons of yogurt containing live, active cultures) and mix gently.
- Maintain the mixture at a constant temperature of about 100°F (37°C) for 4 to 8 hours, until it sets. Using a yogurt maker or a warm water bath helps regulate temperature.
- Check that the yogurt has reached a pH of 4.6 or less. You can test with pH strips or use a pH meter. This indicates it’s safe and ready.
- Once done, refrigerate the yogurt to stop fermentation.
Sources: International Scientific Association for Probiotics and Prebiotics (ISAPP), Utah State University Extension
Recognizing Spoilage vs. a Successful Ferment
A successful ferment has a pleasant, slightly sour or tangy aroma. The texture remains crisp for vegetables, and yogurt becomes thick and creamy.
Spoilage often appears as visible mold on the surface. If you see mold, discard the entire batch—scraping it off is not safe because molds can produce mycotoxins that may be harmful.
Other warning signs include a foul, putrid smell, or a slimy or mushy texture. These can indicate contamination or improper fermentation conditions.
- Mold: Discard the whole batch; do not salvage.
- Off-smell: If it smells rotten or like vomit, throw it away.
- Texture: Unusually soft or slimy vegetables are a sign of spoilage.
- pH: For safety, ensure vegetables have reached a pH below 4.6; for yogurt, a pH of 4.6 or less within 48 hours is necessary.
Sources: International Scientific Association for Probiotics and Prebiotics (ISAPP), Utah State University Extension
Storing and Using Your Fermented Foods
Once your ferment is ready, moving it to the refrigerator slows down the fermentation process and preserves the food.
Refrigeration does not stop fermentation completely, so the flavor will continue to develop slowly. Always use a clean utensil when removing food from the jar to avoid introducing contaminants.
Enjoy your ferments as condiments, sides, or additions to meals. Trust your senses: if something looks or smells off, it’s safer to discard it.
Frequently asked questions
Is homemade fermented food always a source of probiotics?
No. While many fermented foods contain live microbes, factors such as pasteurization or high-heat processing after fermentation can kill them. At home, if you avoid these steps, your ferments can retain live cultures, but it’s not an absolute guarantee.
What salt ratio should I use for sauerkraut?
Use about 2% salt by weight of the chopped cabbage. For example, for 1 kilogram (2.2 pounds) of cabbage, use 20 grams (about 1 tablespoon) of salt.
Sources: ZOEHow do I know if my ferment has gone bad?
Discard the entire batch if you see mold on the surface—scraping it off is not safe. Also throw away the ferment if it smells rotten, putrid, or like vomit, or if it has an unusually slimy or mushy texture.
Sources: International Scientific Association for Probiotics and Prebiotics (ISAPP), Utah State University ExtensionCan I use any yogurt as a starter?
You can use a yogurt that contains live, active cultures. Check the label for phrases like “live and active cultures.” Choose a plain yogurt without added flavors or sweeteners, as these can interfere with the fermentation.
Sources: International Scientific Association for Probiotics and Prebiotics (ISAPP), ZOESources
- Suggestions for Making Safe Fermented Foods at Home - International Scientific Association for Probiotics and Prebiotics (ISAPP) — International Scientific Association for Probiotics and Prebiotics (ISAPP)
- Tips to Safely Ferment at Home - USU Extension — Utah State University Extension
- How To Ferment at Home: A Simple Guide — ZOE